Quick Navigation
🏃 First Steps
You've just woken up on the beach with nothing but a rock and a torch. Don't panic — on a PvE server, nobody's going to bonk you. Here's what to do in your first 10 minutes.
Priority One: Sleeping Bag
Before you do anything else, your first goal is getting a sleeping bag down. Here's why: as you explore and gather, you will get mauled by a bear or boar. When you die, you drop everything and respawn at a random spot on the beach — potentially very far from your corpse. Your items despawn after a few minutes, and if you spawn across the map, you'll never make it back in time.
A sleeping bag is your spawn point. Place one early, and when that bear inevitably gets you, you'll respawn nearby with enough time to sprint back and grab your stuff.
Gather 30 cloth from hemp plants (tall green stalks) immediately. Craft a Sleeping Bag and place it somewhere you want to settle. Then start gathering other resources. This one step will save you hours of frustration.
After Your Bag Is Down
Now you can relax a bit. Hit some trees and nodes with your rock to gather basic materials. You need wood and stone for tools, which make everything faster.
- Gather 30 cloth from hemp plants
- Craft a Sleeping Bag (30 cloth) and place it
- Craft a Stone Hatchet (200 wood + 100 stone)
- Craft a Stone Pickaxe (200 wood + 100 stone)
- Start gathering materials for your starter base
You can place multiple sleeping bags around the map. Put one near monuments you visit often so you can respawn there if things go wrong. On PvE servers, other players can't loot your corpse, but bears and scientists definitely will.
Where to Build
Look for a spot that's not too close to monuments (you'll want some peace), but not so far that you can't access them. Near a river is ideal for fresh water. Avoid building in the snow biome as a beginner — the cold will drain your health.
🐻 Animals
Rust's wildlife ranges from free food to terrifying apex predators. Knowing what you're dealing with can save your life — or at least your loot.
Passive Animals
These won't attack unless provoked. Great sources of early-game food and resources.
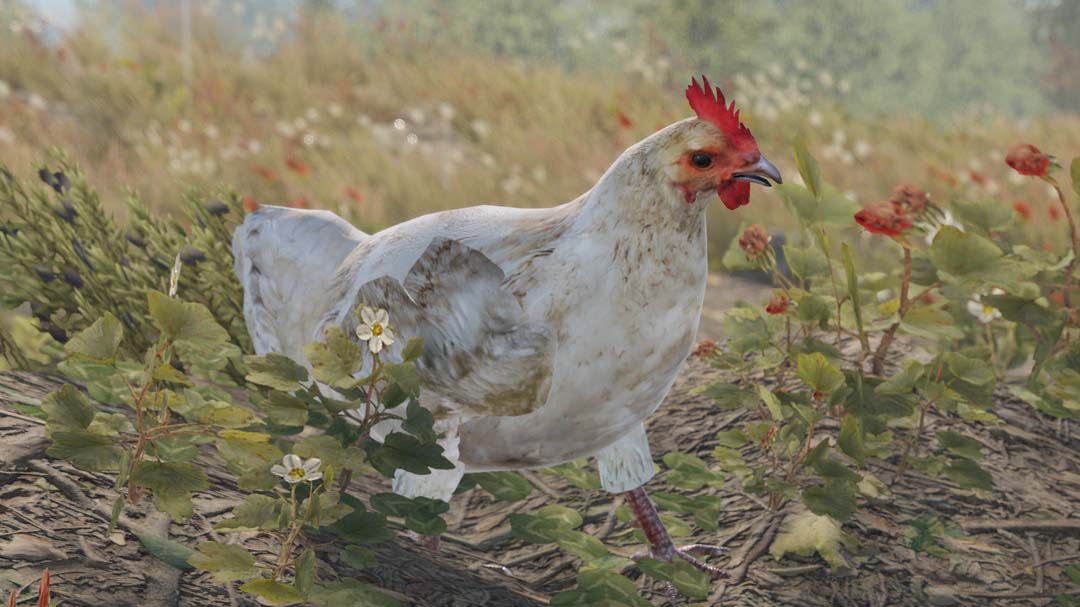
Chicken Passive
Easy to kill, low yield. Found in grassy areas. Their distinctive clucking will haunt your dreams.
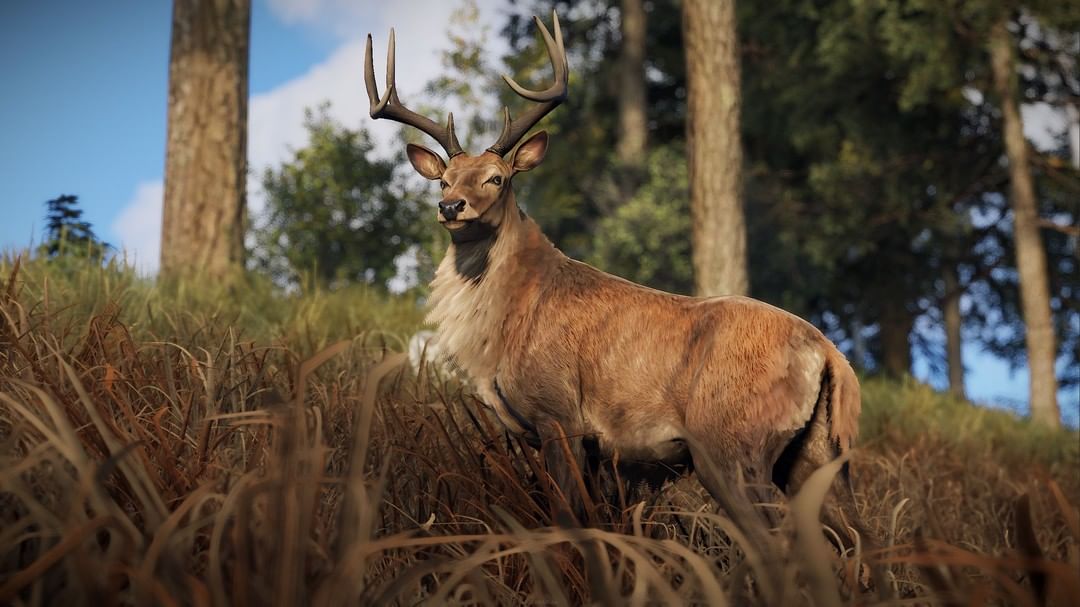
Deer Neutral
Runs away when approached. Will fight back if cornered. Listen for their distinctive hoof sounds.
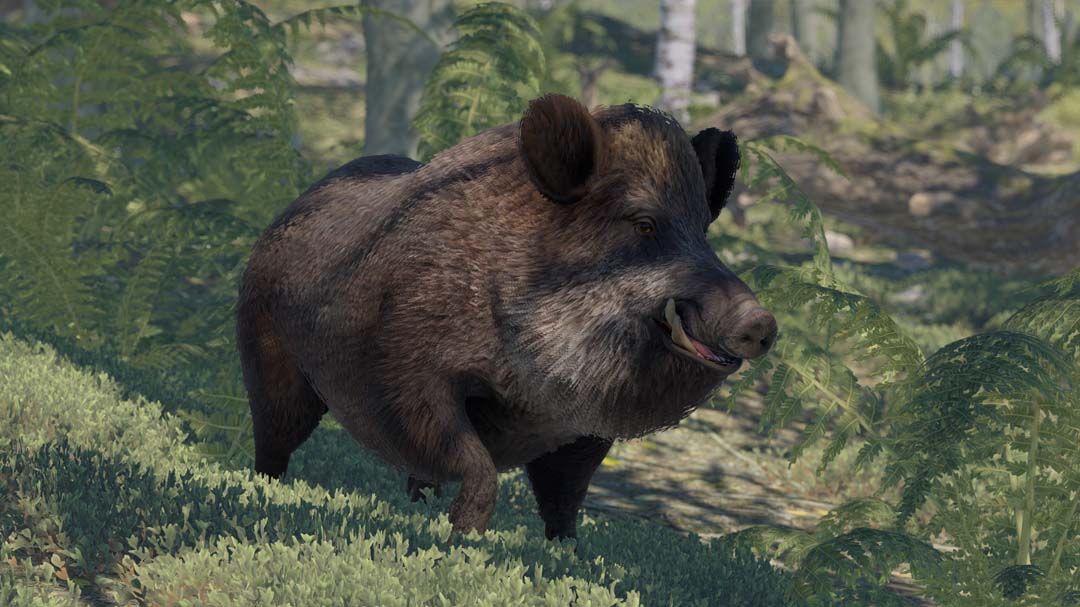
Boar Neutral
Slow and easy to hunt. Will attack if you get too close. Best early-game food source for the resources.
Hostile Animals
These will actively hunt you. Respect them or become their lunch.

Wolf Hostile
Fast, aggressive, often in packs. Howl before attacking. Drop wolf skulls for crafting the Wolf Headdress.
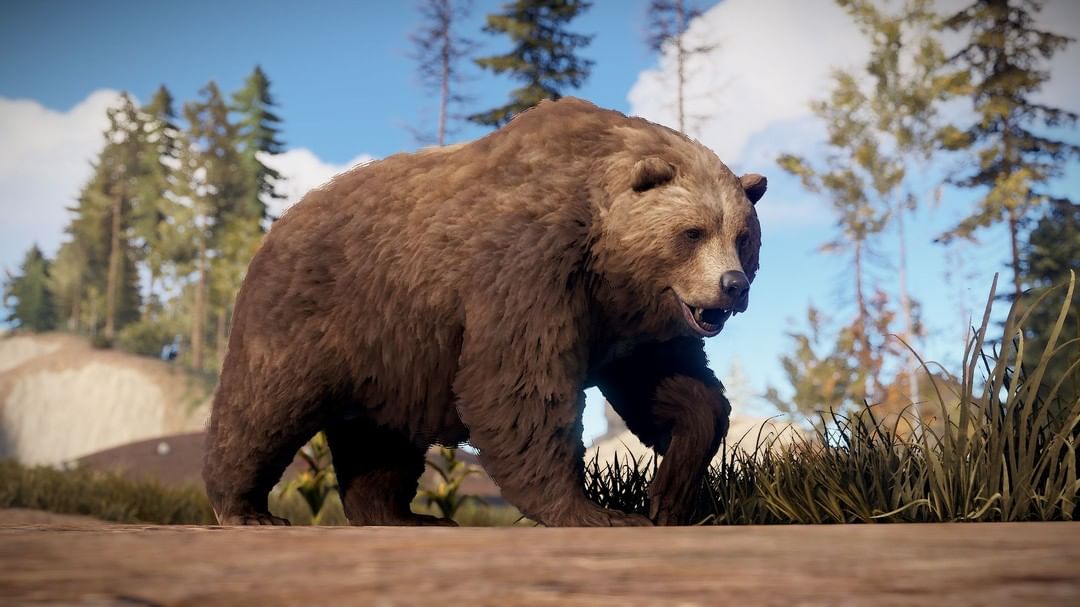
Brown Bear Deadly
The classic naked killer. Faster than you, hits like a truck, causes bleeding. Jump on rocks or foundations to escape.

Polar Bear Deadly
Even stronger than brown bears. Found in the arctic biome. Avoid the snow until you're geared.

Shark Hostile
Patrols near shipwrecks and diving sites. Fast in water where you're slow. Use a spear gun or stay out of the ocean.
Jungle Predators
The jungle biome introduced some of Rust's deadliest wildlife. These animals are stealthy, fast, and unforgiving.

Tiger Deadly
The deadliest animal in Rust. Stalks you silently from behind and only strikes when it's sure to kill. Watch for subtle warning cues.
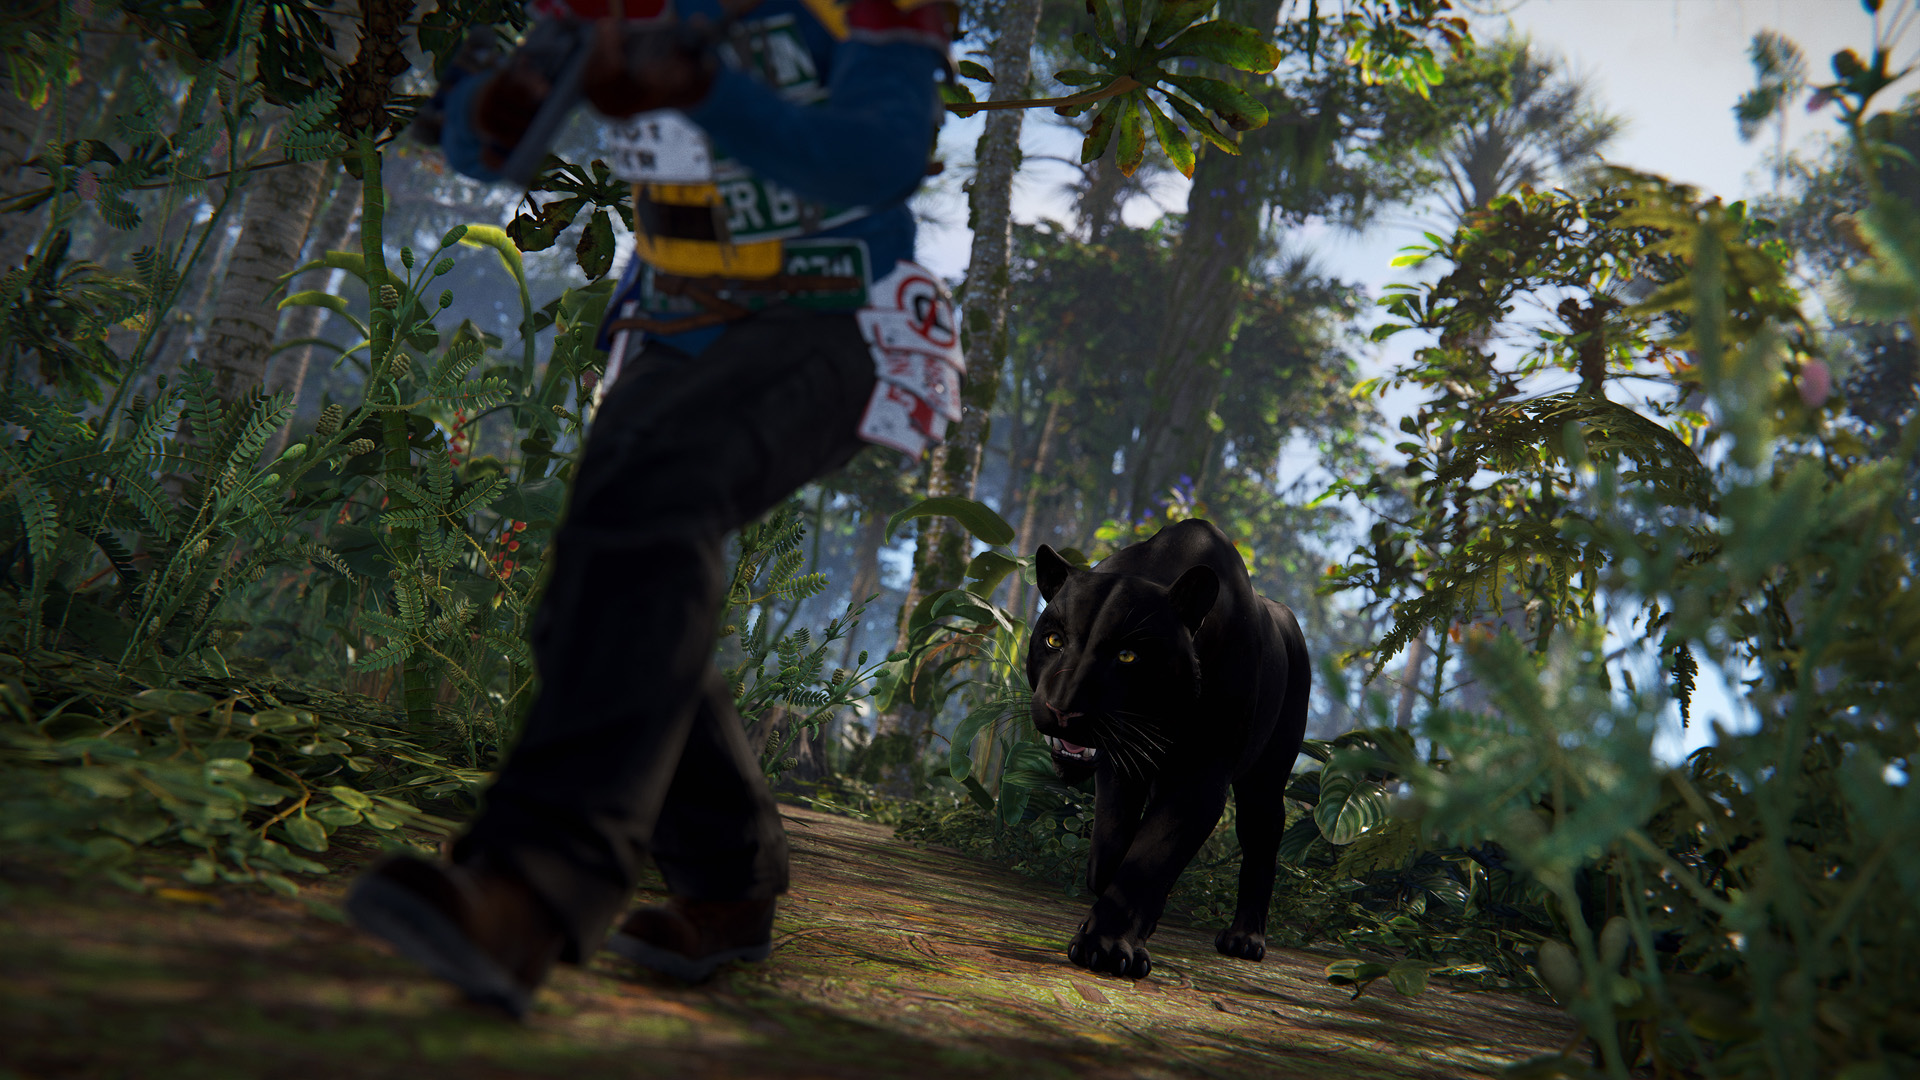
Panther Deadly
Rare black variant of the tiger. Even harder to spot in the jungle shadows. If a corpse disappears, a panther is near.
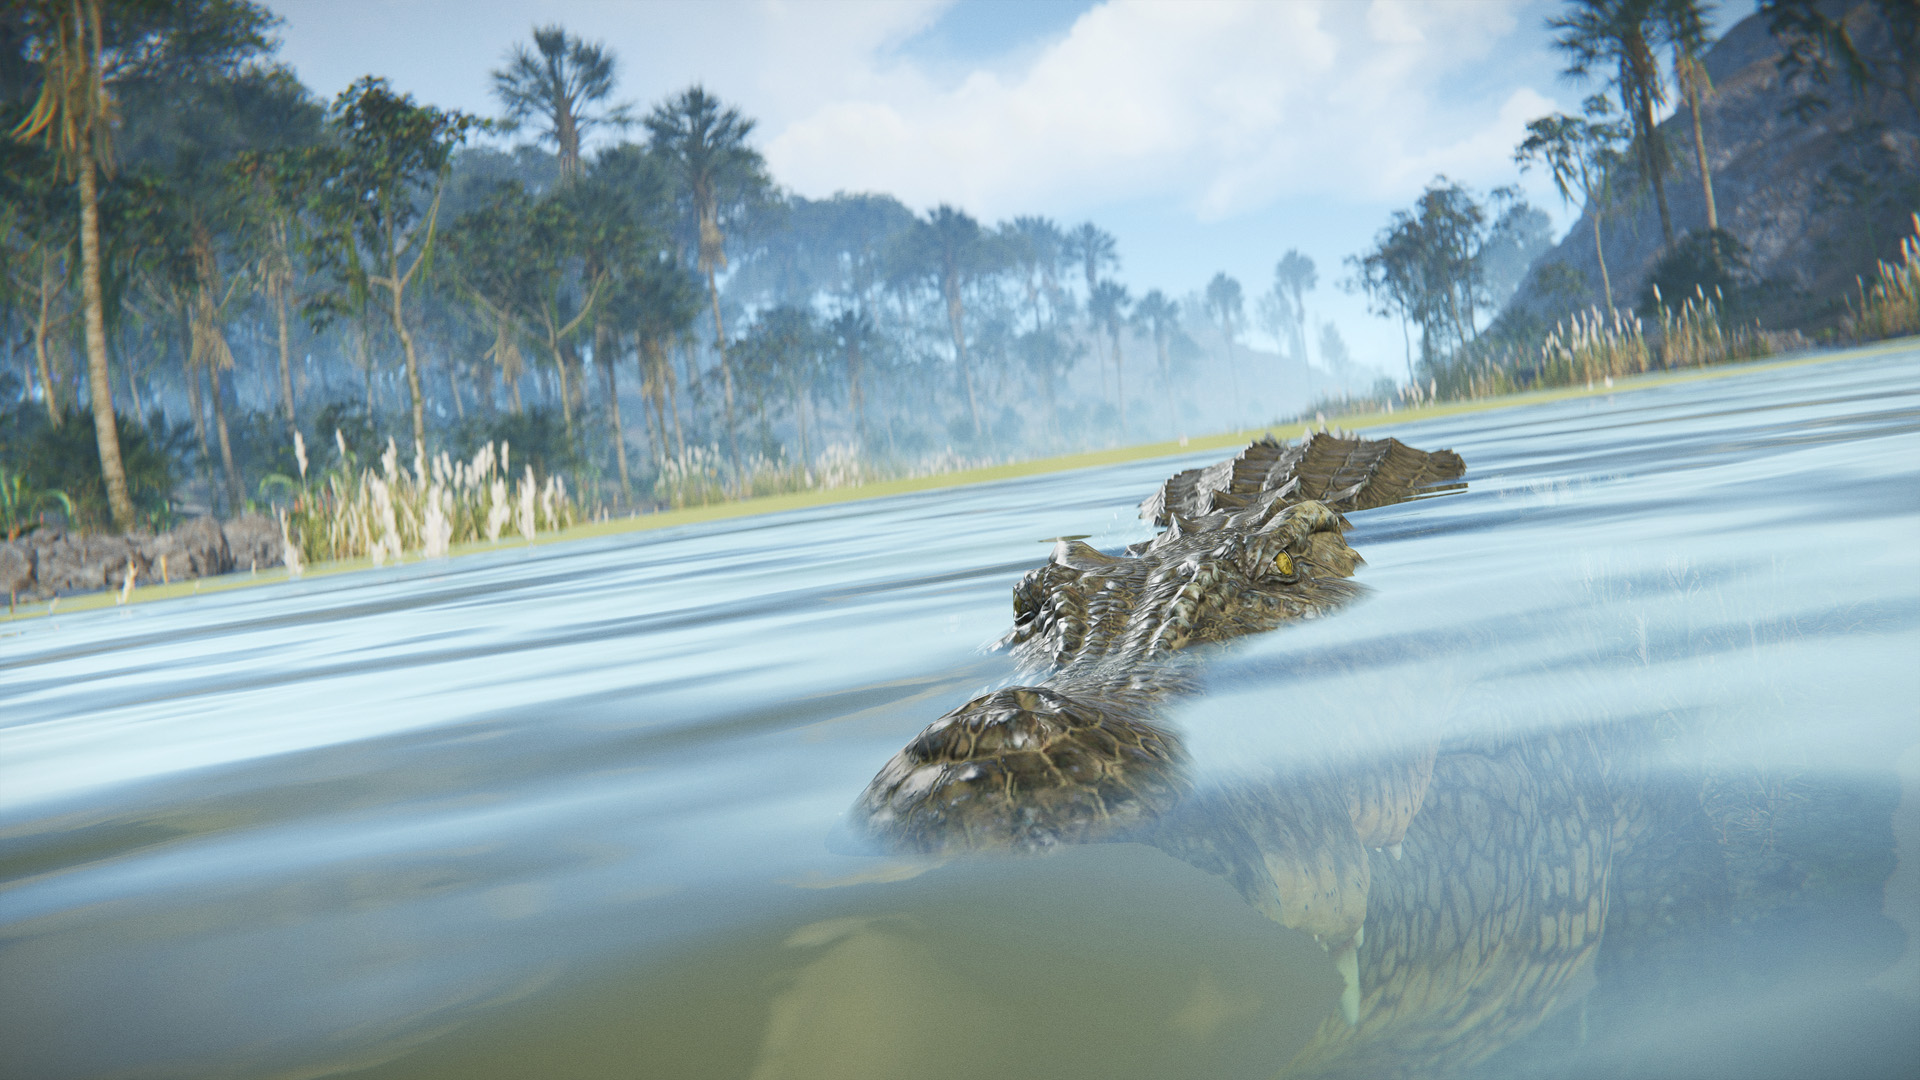
Crocodile Deadly
Lurks in jungle rivers. Looks slow but strikes fast. Will drag you underwater. Respect its territory.
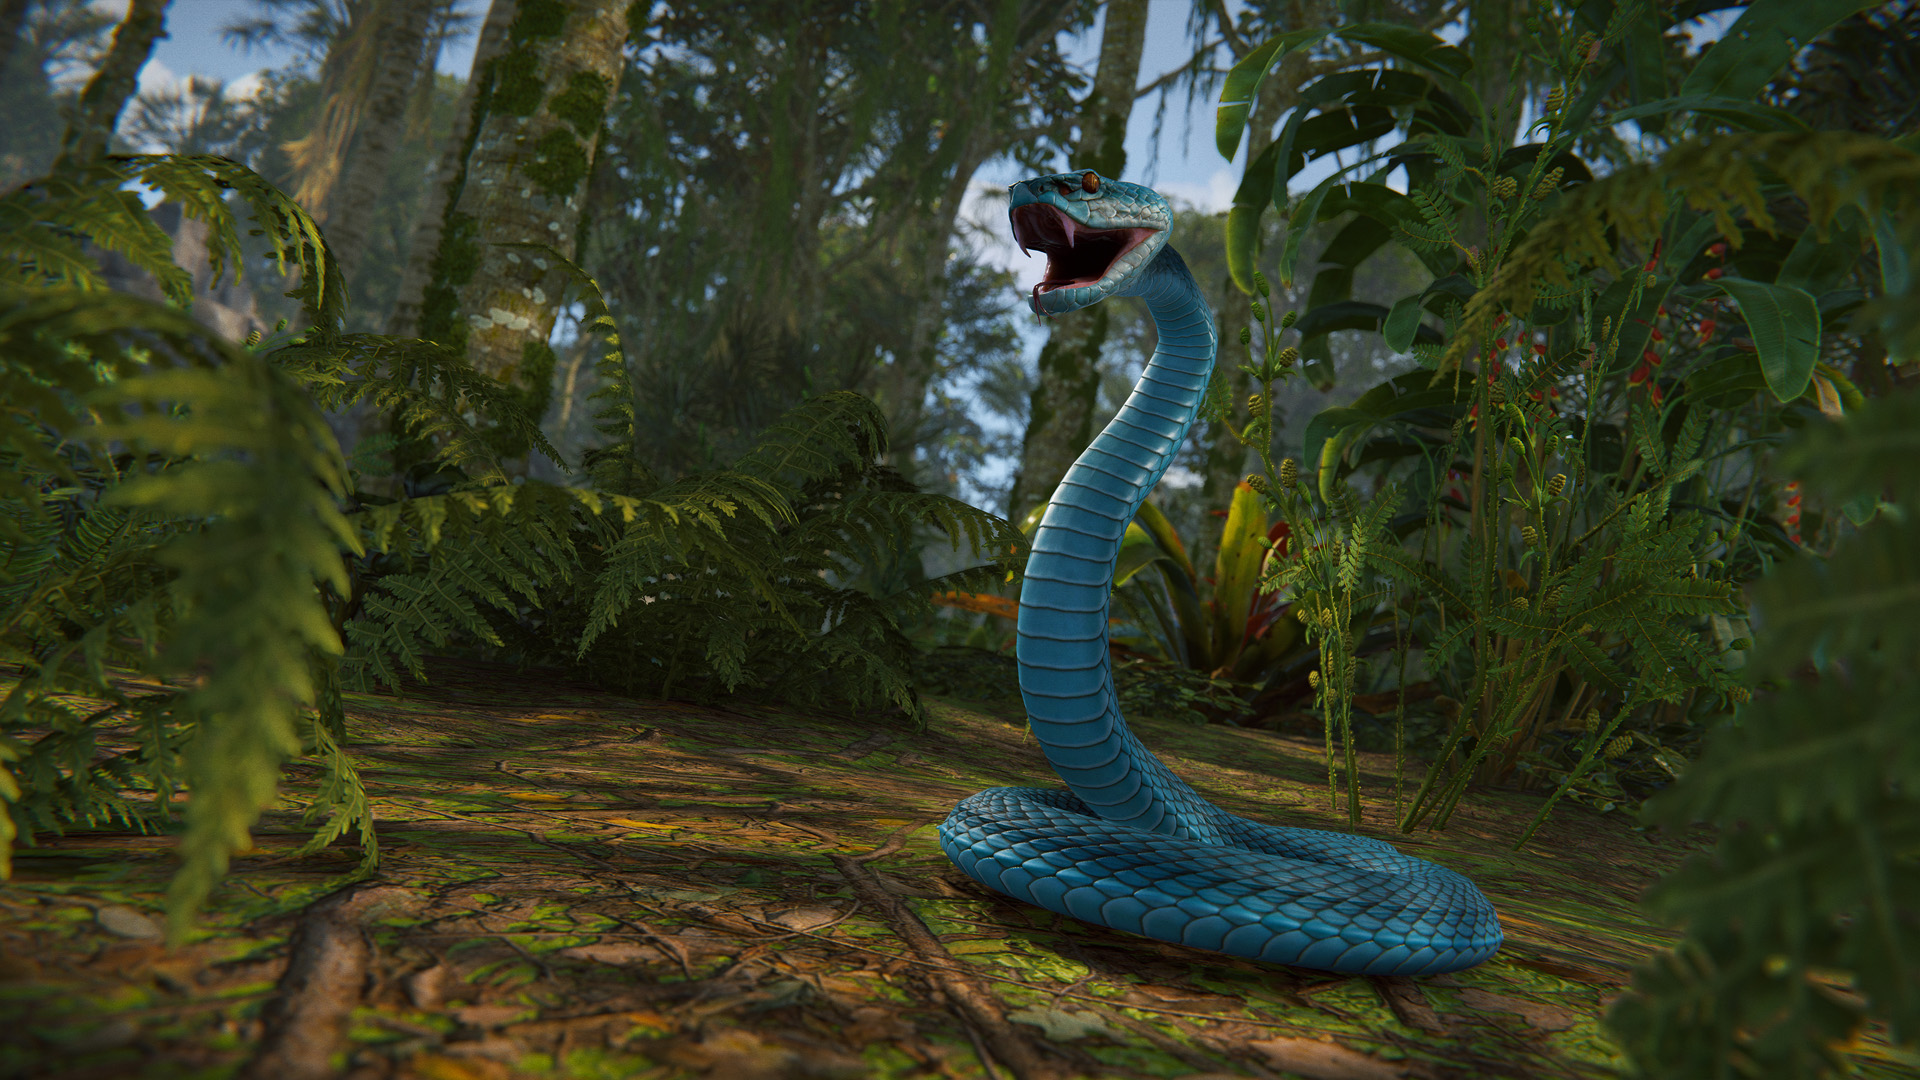
Snake Hostile
Hidden in jungle undergrowth. Listen for the hiss, then jump to dodge. Venom slows you — dangerous when a tiger is chasing.
Bears and wolves can't reach you on foundations or tall rocks. Carry a building plan for emergencies. In the jungle, stay alert for warning sounds — tigers growl quietly before striking, snakes hiss before biting. When in doubt, climb a tree.
🏠 Base Building
Your base is your home. On a PvE server, it doesn't need to be a fortress — it just needs to keep your stuff safe from decay and give you a place to craft.
Starter Base Materials
Building Basics
Equip a building plan (craft with 0 materials) and press Right Click to select what to build. Start with a foundation, then walls, doorframe, and roof. You have 10 minutes to rotate or pick up pieces after placing — use a hammer and press R to rotate.
Always place a Tool Cupboard (TC) inside your base! It prevents decay and stops others from building nearby. Stock it with the materials your base is made of to prevent decay.
Upgrading Walls
Hold a hammer, look at a building piece, and press Right Click to upgrade. Wood → Stone → Metal → Armored. Stone is fine for PvE — you're mainly preventing decay, not raids.
- 2x2 foundation (4 squares)
- Walls on all sides with one doorframe
- Roof to prevent rain damage
- Tool Cupboard (authorized)
- Wooden door + Key Lock (upgrade to Code Lock ASAP)
- Sleeping bag inside
- Storage boxes for your loot
⛏️ Gathering Resources
Hitting things until they give you stuff. It's meditative, really.
Resource Nodes
You'll find three types of rocks to mine: stone (grayish), metal ore (darker with gold specks), and sulfur ore (yellowish). Hit the sparkle that appears on nodes for bonus yield.
When mining nodes or chopping trees, a glowing "X" appears. Hit it directly for double resources and faster gathering. It moves each time you hit it.
Tool Progression
Better tools = faster gathering. The progression is: Rock → Stone tools → Salvaged tools → Metal tools. You'll find salvaged tools in crates and barrels at monuments.
What to Prioritize
Early game, wood and stone are king. Once you have a base, focus on metal ore for code locks and better tools. Sulfur is only needed for ammo and explosives — less critical on PvE.
🔧 Crafting
Press Q to open your crafting menu. Items you can craft appear on the left. Some items require a workbench.
Workbenches
There are three tiers. Higher tier = more recipes. You need to be near a workbench to craft advanced items, and they also speed up craft times.
Blueprints (BPs)
You can't craft everything by default. Find items in crates and monuments, then research them at a Research Table to learn the blueprint permanently (until BP wipe). Costs scrap.
Recycle junk items at monuments for scrap. The Recycler turns components like pipes, gears, and propane tanks into raw materials and scrap.
🏛️ Monuments
Monuments are the points of interest on the map — abandoned buildings with loot crates, puzzles, and sometimes hostile NPCs. On PvE servers, these are your main source of gear and excitement.
Beginner-Friendly Monuments
Keycard Puzzles
Bigger monuments have locked rooms with better loot. You'll need keycards (green → blue → red progression) and fuses. Swipe the card, flip the switch, and the door opens temporarily.
Blue and red keycard areas often have NPC scientists guarding them. They will shoot you. Bring meds, armor, and a decent weapon before attempting these.
Monument Events
Some monuments have special events:
- Cargo Ship — Sails around the map, board it for loot
- Chinook/Patrol Heli — Drops a locked crate at monuments
- Bradley APC — Tank at Launch Site, drops military loot
- Attack Helicopter — Flies around, aggressive to armed players
🌾 Farming
Growing your own food and resources. Very cozy, very satisfying.
Getting Started
Find seeds by picking hemp, corn, pumpkins, or potatoes in the wild. Plant them in a planter box or directly in the ground (planter is more reliable).
What Plants Need
Basic Indoor Farm
A simple indoor setup: large planter boxes, a water barrel connected to sprinklers, and ceiling lights powered by a small generator or solar panels. Check the Electricity section for power setups.
Plants have genes (GYHW letters). G = growth speed, Y = yield, H = hardiness, W = water need. You want GGGYYY for max yield. Clone good plants to keep their genes.
⚡ Electricity
Power your base with lights, auto-turrets (for NPCs), and farming equipment. It's simpler than it looks.
Power Sources
Beginner Setup
The simplest setup: Solar Panel → Root Combiner → Battery → Branch → Lights. This gives you power during the day that stores in the battery for night use.
Craft a Wire Tool to connect components. Left Click on "Power Out" then Left Click on "Power In". The flow goes source → storage → distribution → consumers.
Useful Components
- Root Combiner — Merges two power sources
- Splitter — Divides power to multiple outputs
- Branch — Sends set amount to one output, rest to another
- Switch — Manual on/off control
- Blocker — Stops power when it receives power (logic gates!)
⌨️ Essential Keybinds
The controls that'll make your life easier.
| Key | Action |
|---|---|
| Tab | Open inventory (crafting is inside) |
| G | Open map (hold) |
| E | Interact / pick up / open doors |
| B | Gesture wheel (hold) |
| R | Reload / rotate (building) |
| V | Voice chat (push to talk) |
| T | Open text chat |
| F1 | Console (for commands) |
| Left Alt | Freelook (look around while running) |
| Right Click | ADS / throw tool / building menu (hammer) |
| 1-8 | Hotbar slots |
Hold Shift and drag to split a stack in half. Ctrl + drag moves one item. Middle Click splits to a specific amount. Hold H while hovering over items to quick-loot (if enabled).
🎯 What Next?
Once you're comfortable with the basics, here's what to explore:
- Try the oil rig monuments for high-tier loot
- Build a boat and explore the ocean
- Set up a full electricity system with sensors and auto-lights
- Tame horses for faster travel
- Research and craft your favorite weapon loadout
- Build a massive cozy base with gardens and decorations
There's no wrong way to play cozy Rust. Build weird bases, collect excessive amounts of mushrooms, make a boat house on the water, or just vibe. It's your survival, your way. 🐱